How to Grow Garlic and Ginger at Home
How to Grow Garlic and Ginger at Home: A Beginner-Friendly Guide 🌱
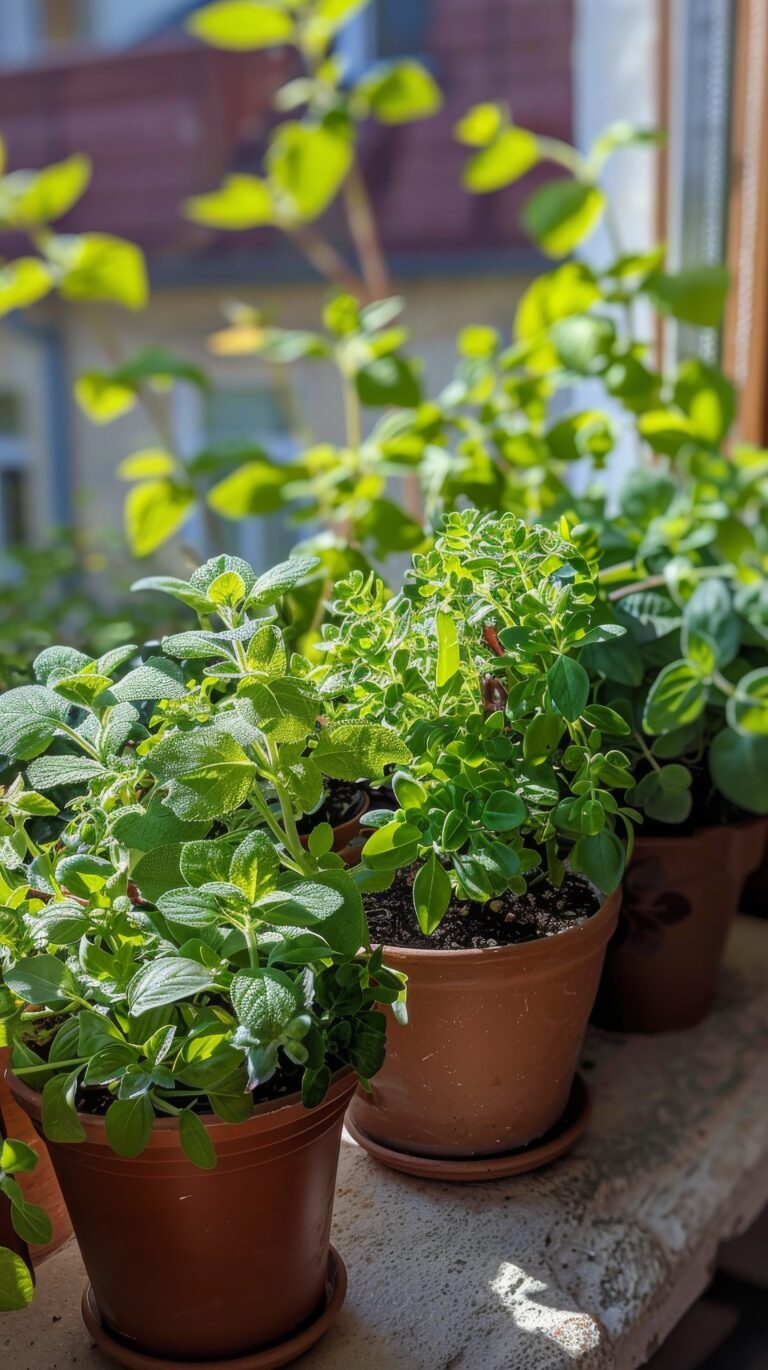
Growing your own garlic and ginger isn’t just satisfying—it’s also surprisingly simple. Whether you have a spacious backyard or a cozy garden bed, these flavorful kitchen staples thrive with just a bit of care. This guide breaks down everything you need to know to successfully grow garlic and ginger in your home garden—from planting tips to harvesting and storing.
—
Why Grow Garlic and Ginger at Home?
Freshly harvested garlic and ginger offer superior flavor and aroma compared to store-bought options. Plus, they’re low-maintenance, don’t require a green thumb, and can be grown in a wide range of climates. You’ll also save money over time—and nothing beats the satisfaction of cooking with ingredients you grew yourself.
—
Growing Garlic in Your Home Garden 🧄
When to Plant Garlic
Garlic is typically planted in the fall before the ground freezes, which allows roots to establish before winter. However, if you live in a mild climate, you can also plant in early spring or even year-round.
Choosing Garlic for Planting
You can purchase garlic seed bulbs at a garden center or use large, healthy cloves from supermarket garlic. Avoid soft or sprouting cloves unless they’re intended for immediate planting.
Step-by-Step Garlic Planting Guide
1. Pick the Right Spot
Garlic loves full sun and well-draining, compost-rich soil.
2. Prepare the Cloves
Gently separate the cloves from the bulb just before planting. Leave the papery skin intact.
3. Plant the Cloves
Depth: 2–3 inches deep
Orientation: Pointed end facing up
Spacing: 3–5 inches apart
4. Mulch Generously
Cover the soil with 4–6 inches of straw or leaf mulch. This protects the garlic during colder months and helps retain moisture.
5. Watering and Care
Keep the soil consistently moist, but not soggy. Reduce watering once the green shoots begin to yellow and dry.
6. When to Harvest
Garlic is ready when the leaves turn brown—usually in early to mid-summer. Use a garden fork to gently lift bulbs from the soil.
—
Growing Ginger in Your Home Garden 🌿
When and Where to Plant Ginger
Ginger thrives in warm, humid climates with indirect sunlight and rich, moist soil. Plant in late winter or early spring once temperatures start to rise.
Choosing Ginger for Planting
Look for plump ginger rhizomes with visible “eyes” or buds. Soaking them in water overnight before planting encourages quicker sprouting.
Step-by-Step Ginger Planting Guide
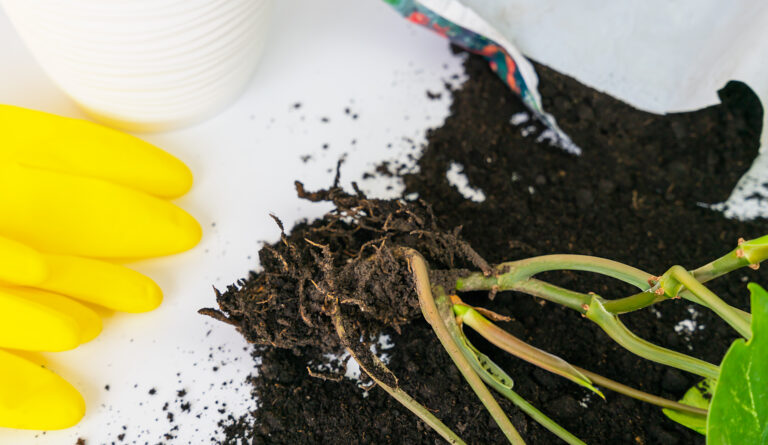
1. Prep the Rhizomes
Cut the ginger into chunks, each with at least one eye.
2. Plant the Pieces
Depth: About 3 inches
Orientation: Eyes facing up
Spacing: 4 inches apart
3. Moisture & Care
Ginger likes consistently moist soil. Mist regularly during dry spells to maintain humidity.
4. Growth & Maturation
Ginger grows slowly over several months. As cooler weather arrives and leaves begin to yellow and die back, it’s time to reduce watering.
5. Harvest Time
Once the foliage has fully died down—usually by late summer or early fall—the ginger rhizomes are ready to be harvested.
—
How to Store Garlic and Ginger After Harvest
Short-Term & Long-Term Storage Tips
In mild climates, you can leave garlic and ginger in the ground and harvest as needed.
For storage:
Do not wash immediately after harvest.
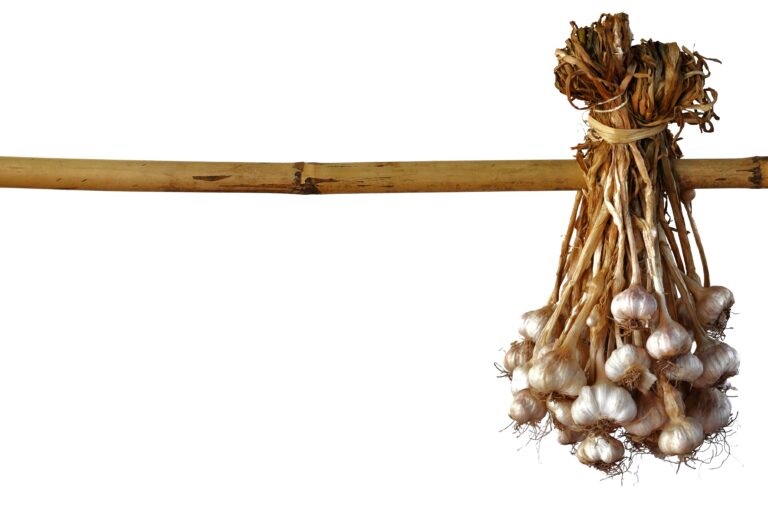
Brush off soil and let them air-dry for a few days.
Store in a cool, dry, and well-ventilated space, ideally in a single layer to prevent mold.
Properly cured garlic can last several months, while ginger can be refrigerated or frozen for extended use.
—
Final Thoughts
Whether you’re a seasoned gardener or a curious beginner, growing garlic and ginger at home is both rewarding and practical. With minimal effort, you can enjoy fresh, flavorful ingredients straight from your garden to your kitchen.
Ready to get your hands dirty? Grab some cloves and rhizomes, and start planting today!